Start with what looks wrong, not another paint coat
If a new skim coat still looks rough after painting, show the finisher what bothers you before paying for another coat of paint. Douglas Taping serves Millburn, including the downtown area by Taylor Park's Millburn Avenue entrance. This is a question about correcting an already-finished surface, not preparing unrelated dents for a future repaint.
A rough finish is usually a conversation with the finisher, not a reason to search municipal records. If the correction involves broader renovation work, ask the contractor to confirm any requirements with the Millburn Building Department. An inspection does not decide whether the wall looks as you agreed it should.
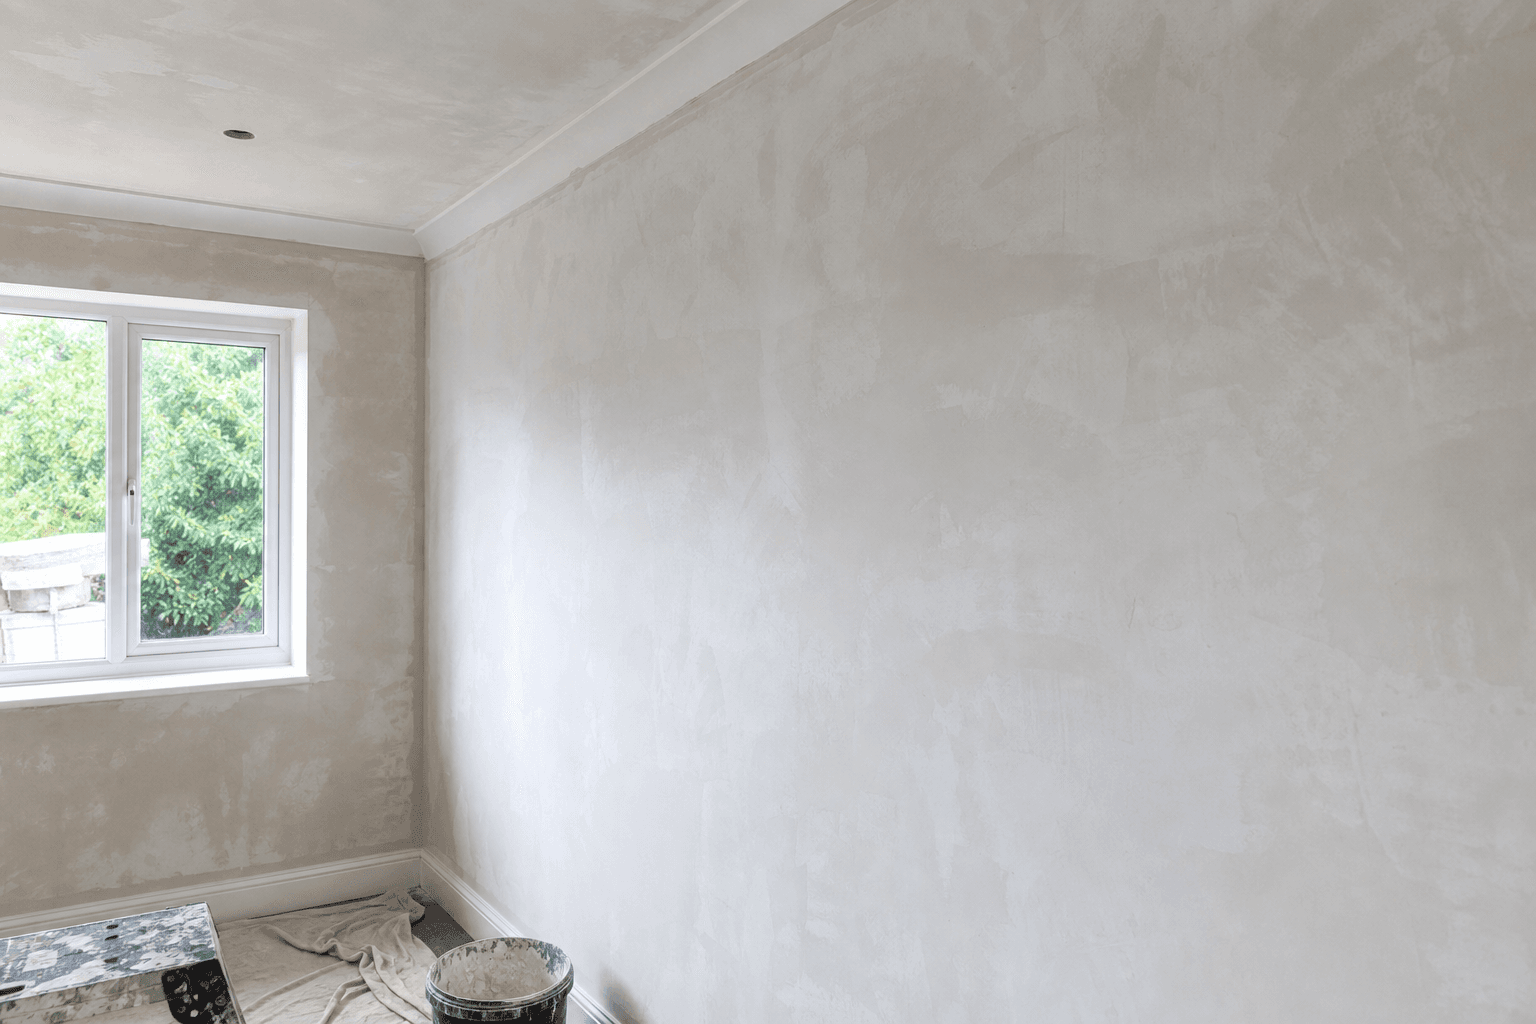
A painted wall or ceiling can look wrong long before anyone knows why. "It looks rough" describes the surface without diagnosing it. Ridges, rough patches, corners that don't look crisp, or a surface that seems fine at noon and blotchy at dusk can each have a different cause: inadequate smoothing, application marks, paint texture, uneven sheen or movement underneath. Until someone looks at the surface itself, the cause stays open.
A wall can look smooth at noon and rough when afternoon sun shines across it. Glossy paint can also make small bumps stand out more than flat paint. Show the finisher the wall in the light where you notice the problem.
That is why another coat of paint shouldn't be treated as the automatic fix. Paint follows the shape of whatever is under it, so if the problem is surface texture, more paint usually reproduces it. A change in sheen or lighting might make the wall look better or worse without touching the cause.
A useful first step is to compare what you see with what was agreed: the finish you expected, the paint sheen, and the lighting the room actually gets. That makes the complaint clearer without deciding who is at fault.
Check what needs assessment before smoothing
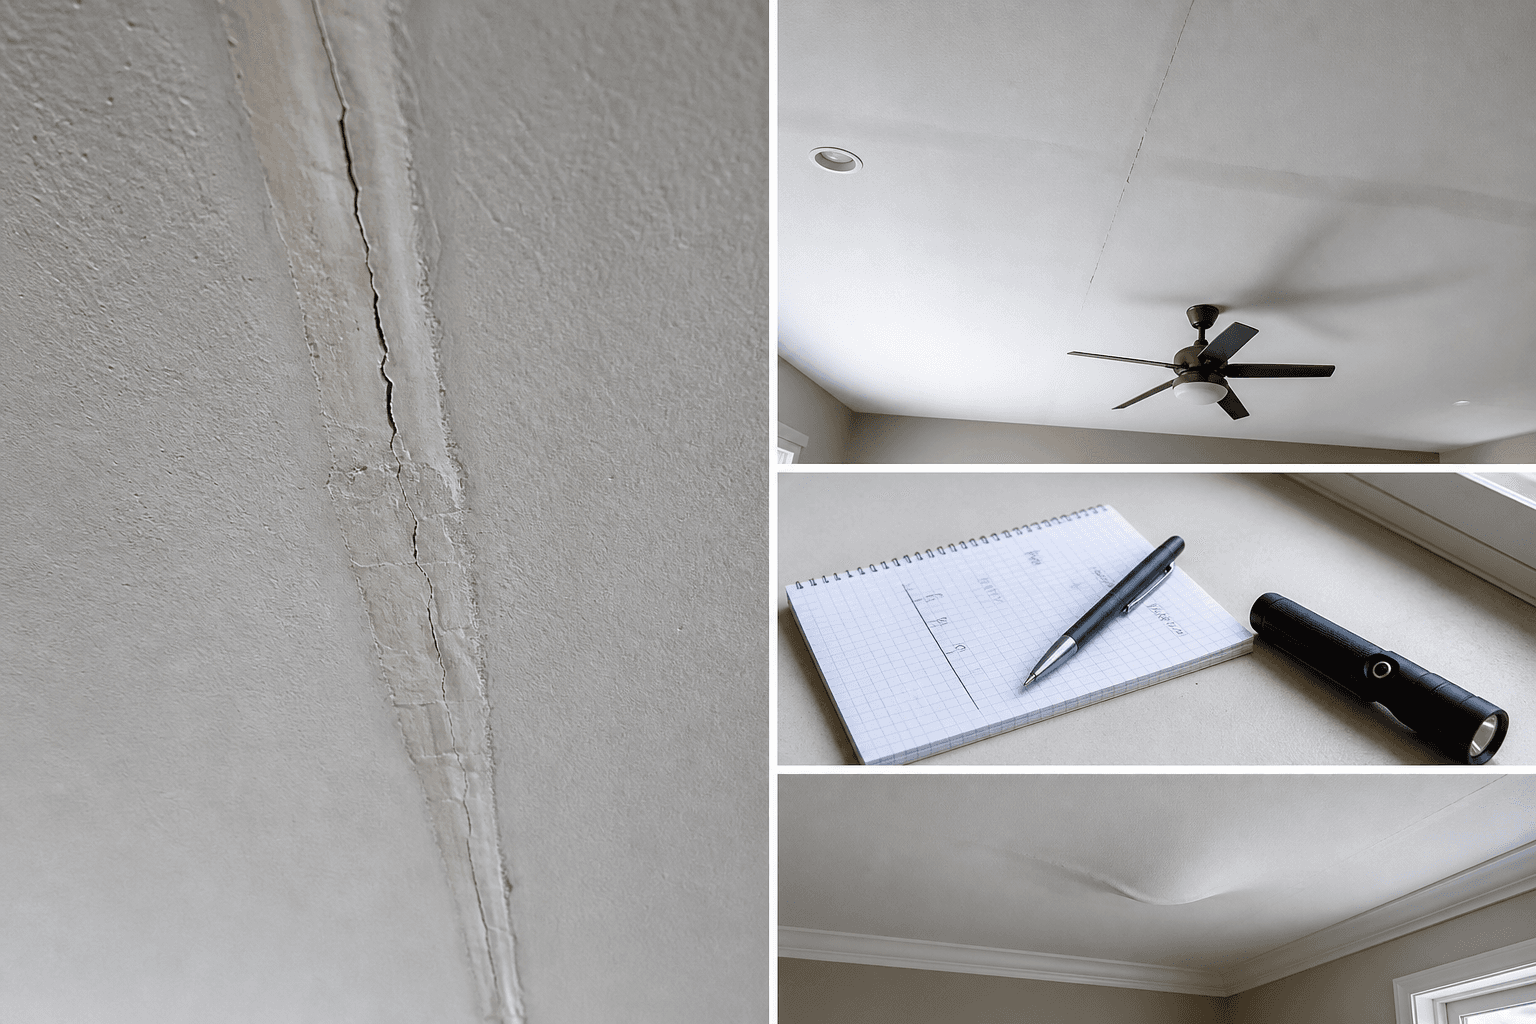
Douglas should assess whether the problem is only the finish or something underneath. Show the ridges or patchy areas that bother you, and mention returning cracks, stains or visible swelling. Do not press or tap the wall to test it. Keep people away from a sagging ceiling and have it assessed before any cosmetic work.
The distinction matters because a skim coat is only a thin layer of compound spread over the surface. On sound material it can even out texture. It cannot make failing plaster or drywall sound again, and it will not straighten a wavy wall. Over cracked old plaster, a skim coat alone is not a permanent repair, and if the material underneath is moving, the same trouble is likely to show again.
Leaks need particular care. A stain that has dried does not by itself show that the drywall can stay. The leak source, the condition of the board and any hidden damage or contamination behind the surface all need to be considered before the area is rebuilt or refinished.
Safety comes before any physical correction. A recent skim coat tells you nothing about whether the older paint, texture, plaster or joint compound beneath it is safe to disturb, and lead or asbestos status may need to be confirmed first. Until that is known, leave sanding, scraping and experiments with the surface alone.
Your most useful role at this stage is to observe: where the problems appear, what they look like and whether anything has changed. Photos and notes help describe the situation, but they cannot prove a surface is sound, and neither can the absence of obvious warning signs. Where condition or material safety is uncertain, an in-person look is the next step, though lead or asbestos status may need testing and concealed damage may need further investigation before anyone can say the surface is safe to work on.
Show where the roughness catches your eye
Send a whole-wall or ceiling photo and a closer view of a few spots that bother you. You do not need to photograph every ridge. A wide view helps the finisher see whether the problem is local or spread across the room.
Note when the roughness shows. If it only appears when afternoon sun crosses the wall or a ceiling fixture is switched on, say so and photograph it in that light. The conditions that reveal a defect are part of describing it.
Mention when the work was done, whether the roughness appeared before or after painting, and any stains or returning cracks. Share the paint name if you already know it, but do not worry about tracking down a product history. Douglas should assess the existing surface and take any needed measurements.
If an uneven corner bothers you more than the middle of the wall, show that too. Your goal is to explain what you want improved, not to prescribe the repair.
Ask the original contractor or Douglas to look at the wall with you under its normal lighting. Explain the appearance you expected and ask what correction is realistic. Let the finisher recommend the method and how much repainting would follow.
Photos help explain your concern, but they do not establish fault, warranty coverage or a right to a free repair. Those questions depend on the agreement and what an assessment finds.
Compare spot correction with full-surface smoothing
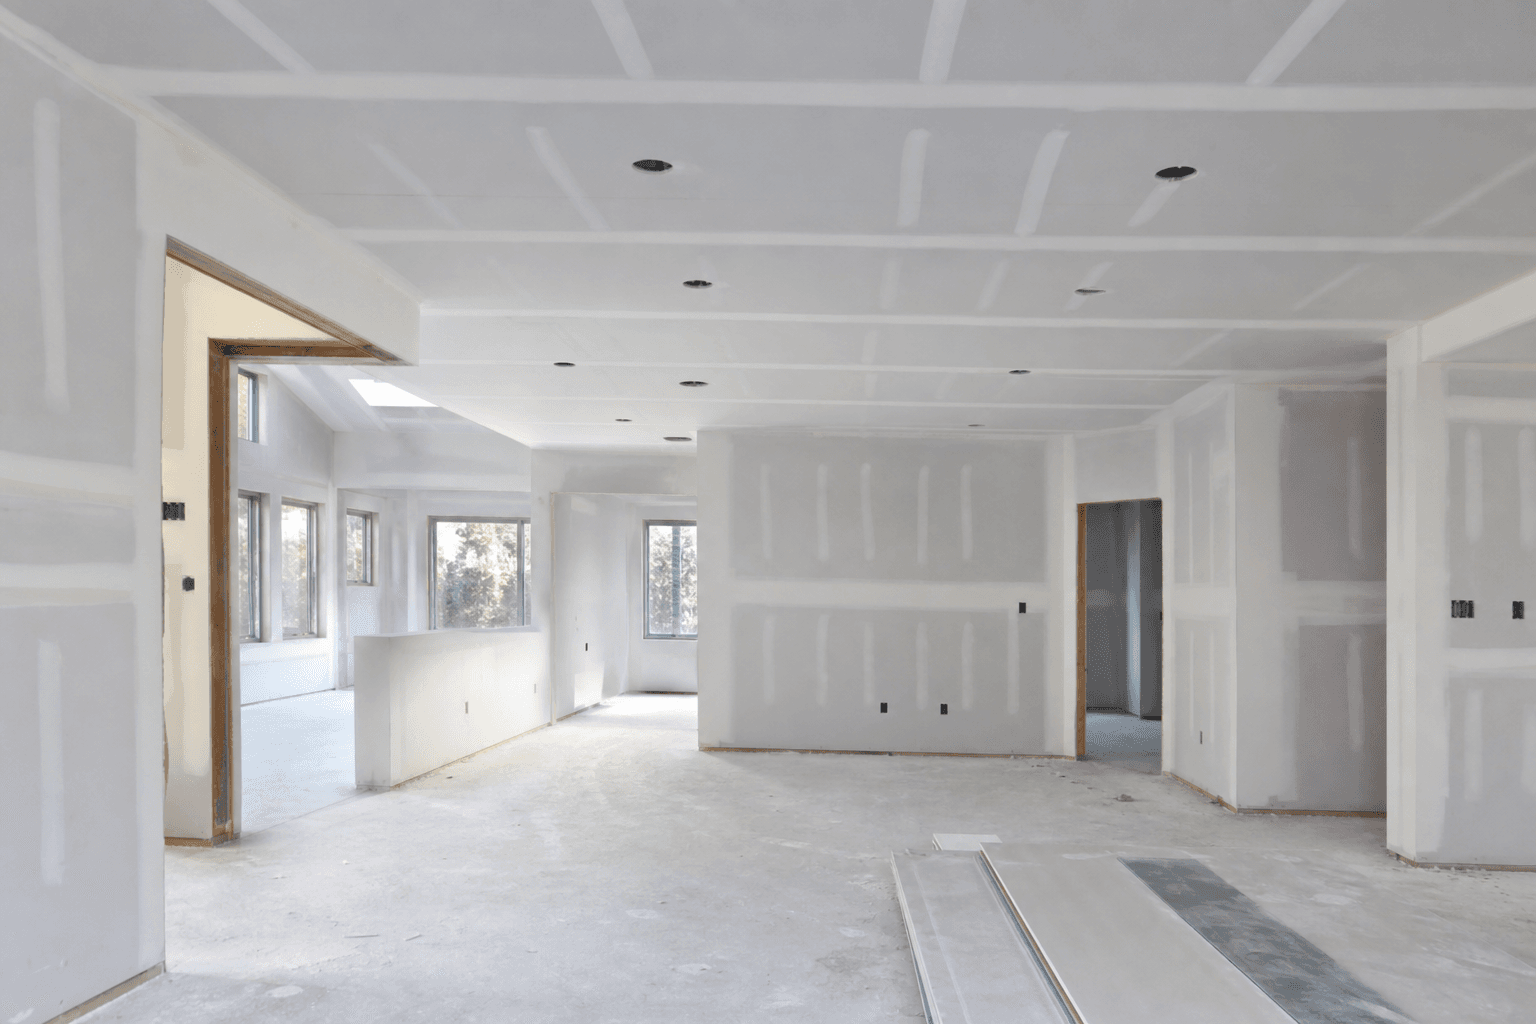
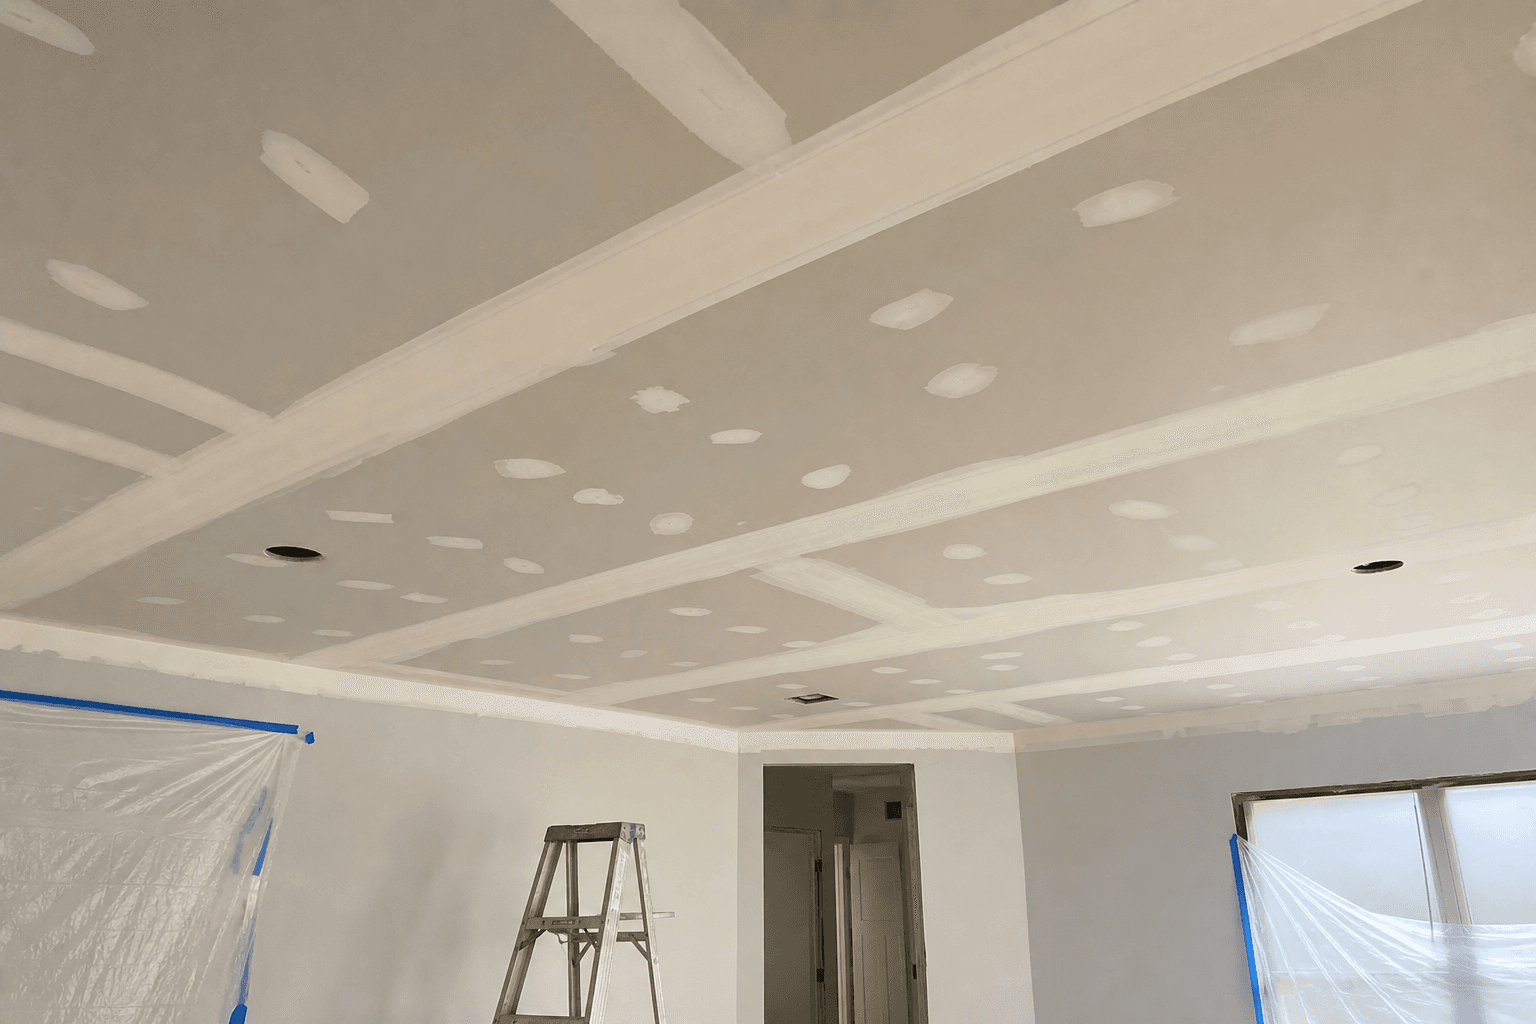
Start with how the roughness is spread out. A few ridges, a single rough patch or one bad corner on an otherwise acceptable wall may suit localized correction, where only those areas are filled, smoothed and blended. If unwanted texture covers most of a wall or ceiling, fixing it spot by spot tends to leave a patchwork that shows once the paint goes back on. There, skim coating the whole surface can make more sense, provided the drywall or plaster underneath is sound.
Condition matters as much as appearance. A rough finish on its own does not mean the board or plaster needs replacing. Loose plaster, recurring cracks, or drywall that is soft, swollen or sagging changes the decision, and the scope may shift toward repair or replacement before smoothing is discussed. Our skim-coating versus replacement guide covers that earlier condition-based choice.
Ask whether the proposed work also addresses the corners or seams you pointed out. Smoothing the middle of a wall does not automatically correct its edges.
You may hear the term Level 5 finishing. It means a thin coat applied across the entire surface after the joints are finished, which helps under strong side lighting or glossier paint. It is worth weighing surface by surface rather than assuming every room needs it, and it reduces visible flaws rather than guaranteeing none remain.
Because these surfaces are already painted, preparation, product compatibility and the final method depend on what is actually on the wall. Those belong in the assessment, not a standard recipe.
Ask what the correction estimate includes
Two estimates are only comparable if they describe the same job. Check that each proposal names the same walls or ceilings and the same extent of correction. One finisher might plan to touch up a few ridges on one ceiling while another prices smoothing that whole ceiling plus the adjoining wall. Both numbers can be fair, but they answer different questions. A spot-repair quote is not a cheaper version of whole-surface refinishing, and if the roughness turns out to be widespread, it may not give you the result you want.
Ask whether the price covers the problem areas you showed, any repairs needed first and repainting afterward. If whole-wall smoothing is recommended, ask why spot correction would not give you the result you want.
Spell out the finish you expect and the light the surface will be seen in, such as a ceiling lit at a low angle by a large window. Ask whether dust control and cleanup are included in that particular proposal rather than assuming they are.
Skim coating is not automatically cheaper than replacing drywall. Once a surface needs several repairs or sits over damaged board, the comparison can shift, so the assessment matters more than the method's reputation.
Douglas Taping offers skim coating and repairs to cracks and wall imperfections in Millburn. Send photos to confirm whether the correction is a fit. Painting can be added to the drywall work, not booked independently. For isolated damage before a planned repaint, the patching and painter-handoff guide separates spot repair from whole-wall smoothing.
When you request an assessment, send your photographs and list the affected surfaces and the lighting where the problems show.
For a second look at rough skim coating in Millburn, call Douglas Taping at (877) 551-9553 with photos taken in the light where the problem shows. Tell us what you want improved and ask what correction and repainting would be needed.
Common questions
Can a rough skim-coated ceiling be sanded and repainted?
Possibly, but it needs assessment first. More paint alone will not flatten ridges. Have the finisher check the surface and any suspect older layers for hazards before sanding, then recommend whether local correction is enough.
How can a rough wall with several paint layers be smoothed?
Show Douglas where the roughness appears and ask whether spot correction or whole-wall smoothing would help. The contractor should assess the existing finish and choose the preparation. Do not scrape or sand older layers whose lead or asbestos status is unknown.
Is it okay to skim coat over painted walls?
It can be, if the wall and paint are sound and suitable for the new coating. The finisher should check that compatibility. Loose material, returning cracks or moisture needs attention before smoothing, not another layer over it.
Can I paint directly over skim coat?
Ask the finisher and painter to agree on preparation and primer for the products being used. Also look at the wall together under normal room lighting before painting. Fresh paint tends to reveal ridges rather than hide them.
Is it cheaper to skim coat or replace drywall?
Not always. Skim coating a sound wall may be simpler, but damaged board or extensive preparation can change the comparison. Ask what each option would fix and whether the price includes the same finished result and cleanup.